Custom bulk iron on patches—the basic
bulk iron on patches
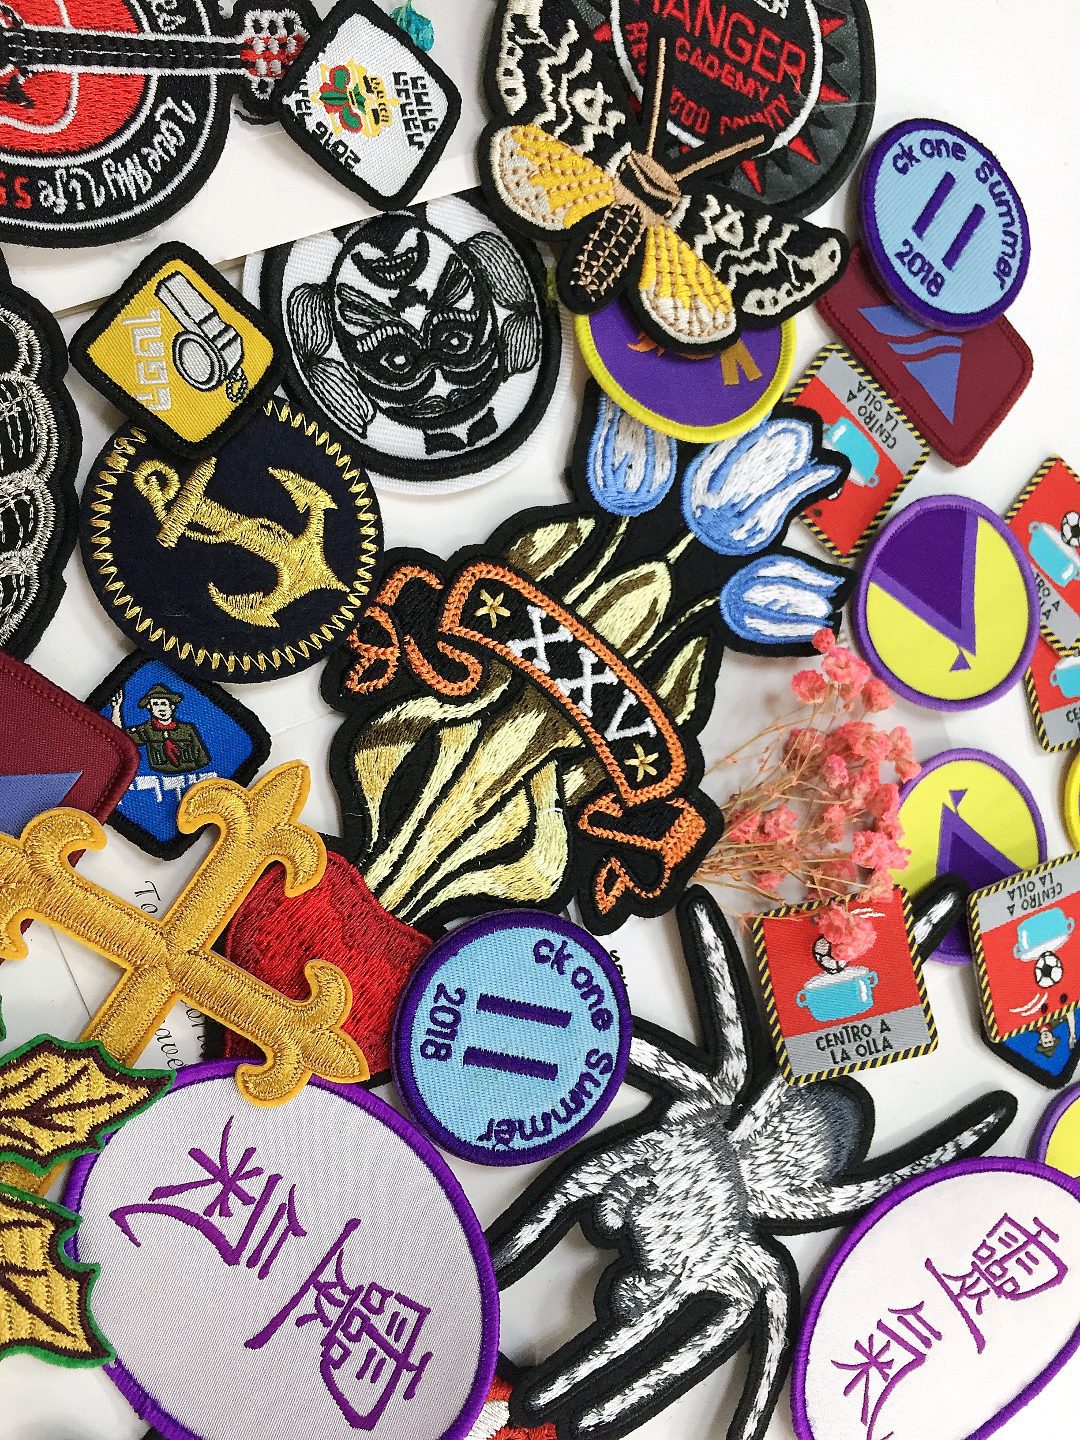
How to Make Your Own Bulk Iron on Patches

Before you can make your own bulk iron on patches to express yourself and impress your friends, you have to know what they’re going to be. What you take your inspiration from is up to you. One blogger used her children’s artwork, so she’d have a bit of them with her every day.
The most important part of the artwork is its simplicity. It will get over complicated if the design is too intricate and the finished product won’t look as good. Look for something colorful that has powerful lines.
This will keep the artwork to patch process as simple as possible. Keeping the size in mind is important as well. The finished product should be no bigger than 5 inches in all.
The Inkjet Printer Method
This method is the easiest, assuming you have a printer at home. All you’ll need to buy is the peel and stick fabric fuse and transfer sheets, instead of worrying about the embroidery supplies. To start out, identify the piece of art you’ll be using.
Using the newest phone in the house, take a picture of the art and upload it to your computer. Email is the best method for retaining picture quality. Using your computer’s photo editing program, resize the image to the patch size you want.
Load the inkjet transfer page into your home printer. Print out the image and let it dry well before removing it from the printer tray. Once it’s well dried, collect your thick fabric, scissors, and iron.
On the ironing board, position your transferred image face down on the thick fabric. Follow the package instructions for time and heat. Once the image has transferred, peel it up and let the image dry.
Scroll to the last section to learn how to attach it to your clothing.
Hand embroidery method
To do this, you need to be confident in your artistic abilities. It’s not that you need to be an artist, but some manual work. Before you start, we suggest you watch some how-to embroidery videos on YouTube.
After watching the video, you’ll have a better idea if this method is right for you. For this particular method, you need:
- Embroidery floss
- The embroidery hoop
First, cut out the artwork that you want to turn into a patch. Attach it to the back of your heavy fabric. Then, place the embroidery ring on a window or light box and trace the pattern with a pencil.
Once the design is tracked, choose the color of the embroidery thread you will use. Fill in the design carefully with embroidery thread. There are plenty of how-to videos on Youtube that show you how to use the simplest method of stitching.
When you’re done, be sure to clean up the back. Tie knots where needed and cut off excess thread. If you don’t, sticky pages won’t transfer well in the next step.
Method of sewing machine
If you have a sewing machine at home and are proficient in how to use it, this is probably the best way to try. The steps of preparation are similar to those of embroidery. Print your image on a thick cloth.
Then, set your sewing machine to 0,2 pretty and thick lines. Use zigzag stitches along the lines of the design. Lift the needle and rotate the shaft if necessary. The thickness of the thread will make it easy to knot.
Work slowly and precisely. This method is not for the impatient. Once the artwork is complete, be sure to check your last stitch to make sure it is. Take it out of the sewing machine and voila! You have a machine-embroidered patch.
Why do my bulk iron on patches keep coming off?
Iron on patches work because they are coated with an adhesive that melts and sticks to whatever you put them on. Usually, they come off if the patch reaches the melting point of the adhesive. Do not dry the clothing in the dryer at a high temperature. Either allow it to hang dry or use the cool setting.
What’s the best fabric glue to make patches?
Fabric glue can be well reapplied to iron patches after the original glue. Some good options include needle blight, Dritz Liquid needle, or Aleene’s Fabric Fusion Permanent fabric glue. Some fabric glues need to be air-dried for a few days, while others need to be heat-activated, like the glue on an iron. Read the instructions carefully.
Can they be washed?
Yes. Once the patches are applied properly they can be put in the washing machine. Remember to turn your garment inside out. A gentle wash cycle with cold water is recommended. After the first couple of washes, check that the edges of your patch have remained in place. If they have lifted, repeat steps 2, 3 and 4 of the instructions. Do not put them in the dryer.
Is it better to sew or bulk iron on patch?

Sewing is safer and more durable, but ironing is faster and easier. In general, ironed patches are good for items like bags and jackets that don’t need frequent cleaning. For items like shirts or pants, a patch works better.
How to make embroidered patches

Embroidered Patches – Creatively Crafted
In this case, the design is not printed on the patch. Instead, it’s sewn on the back!
We sew them onto the fabric substrate with lots of fine, colored thread. After completion, loose threads and bare fabric are converted. This is the essence of embroidery. If you’ve ever tried it at home, you know how challenging and complicated it can be.
Embroidery is still a valued art form because of the precision required. Even after so much has changed in the world of textiles and fashion, this little whimsy has stood the test of time.
Applying modern techniques to this ancient art, embroidery will capture your design forever. These patches can then be sewn onto hats, jackets, school bags and almost anything with a fabric surface.
Because they have so many features, they are an ideal, detailed complement to any project or promotional campaign. Embroidered patches can bring so much fun to a gift bag or reward bag.
Backing Types Available:
- Classic Sew-on: These are classic sew-on embroidered patches which can be stitched onto just about any fabric.
- Iron-On – We apply a special adhesive backing to these embroidered patches. With minimal prep-work, you can iron-on your customized creations to just about any fabric surface.
- Velcro – That’s right! We can even craft embroidered patches with Velcro backing. Please contact us for further details on this exciting option. We look forward to hearing from you.
Specifications:
- Design – Simply upload your logo or other artistic design and we will help format it for our embroidery patch.
- Crafted with 100% fabric and fine embroidery thread. Special support to meet your requirements.
- Color range – Up to 6 colors can be used for your embroidery patch design, including background colors. This can accommodate most brand logos and promotional art.
- Versatility – Embroidery patches can be applied to any fabric, including: scarves, hats, shirts, jeans, handbags, jackets and a variety of other clothing and accessories.
- Size selection – To simplify the problem, most embroidery patches are custom made in the same size: width :10mm – 50mm; Height: 10mm-50mm
Please note that custom sizes are acceptable but we need further details before we can give a price estimate. Please contact us directly. We will provide you with an accurate estimate in a timely manner.